Sony S-Log3, as shot
The log file straight out of the camera: flat, grey, no contrast. That is normal, and it is exactly what gives you room to grade.
OFX plugin · Color page
Cinematic grading in a single node. Convert your camera log with the manufacturer’s official formula, pick a look and finish it with skin, grain and halation. No more building twenty nodes every time.
Windows 10/11 only · DaVinci Resolve 18 or later, free or Studio
No refunds — Terms of purchase

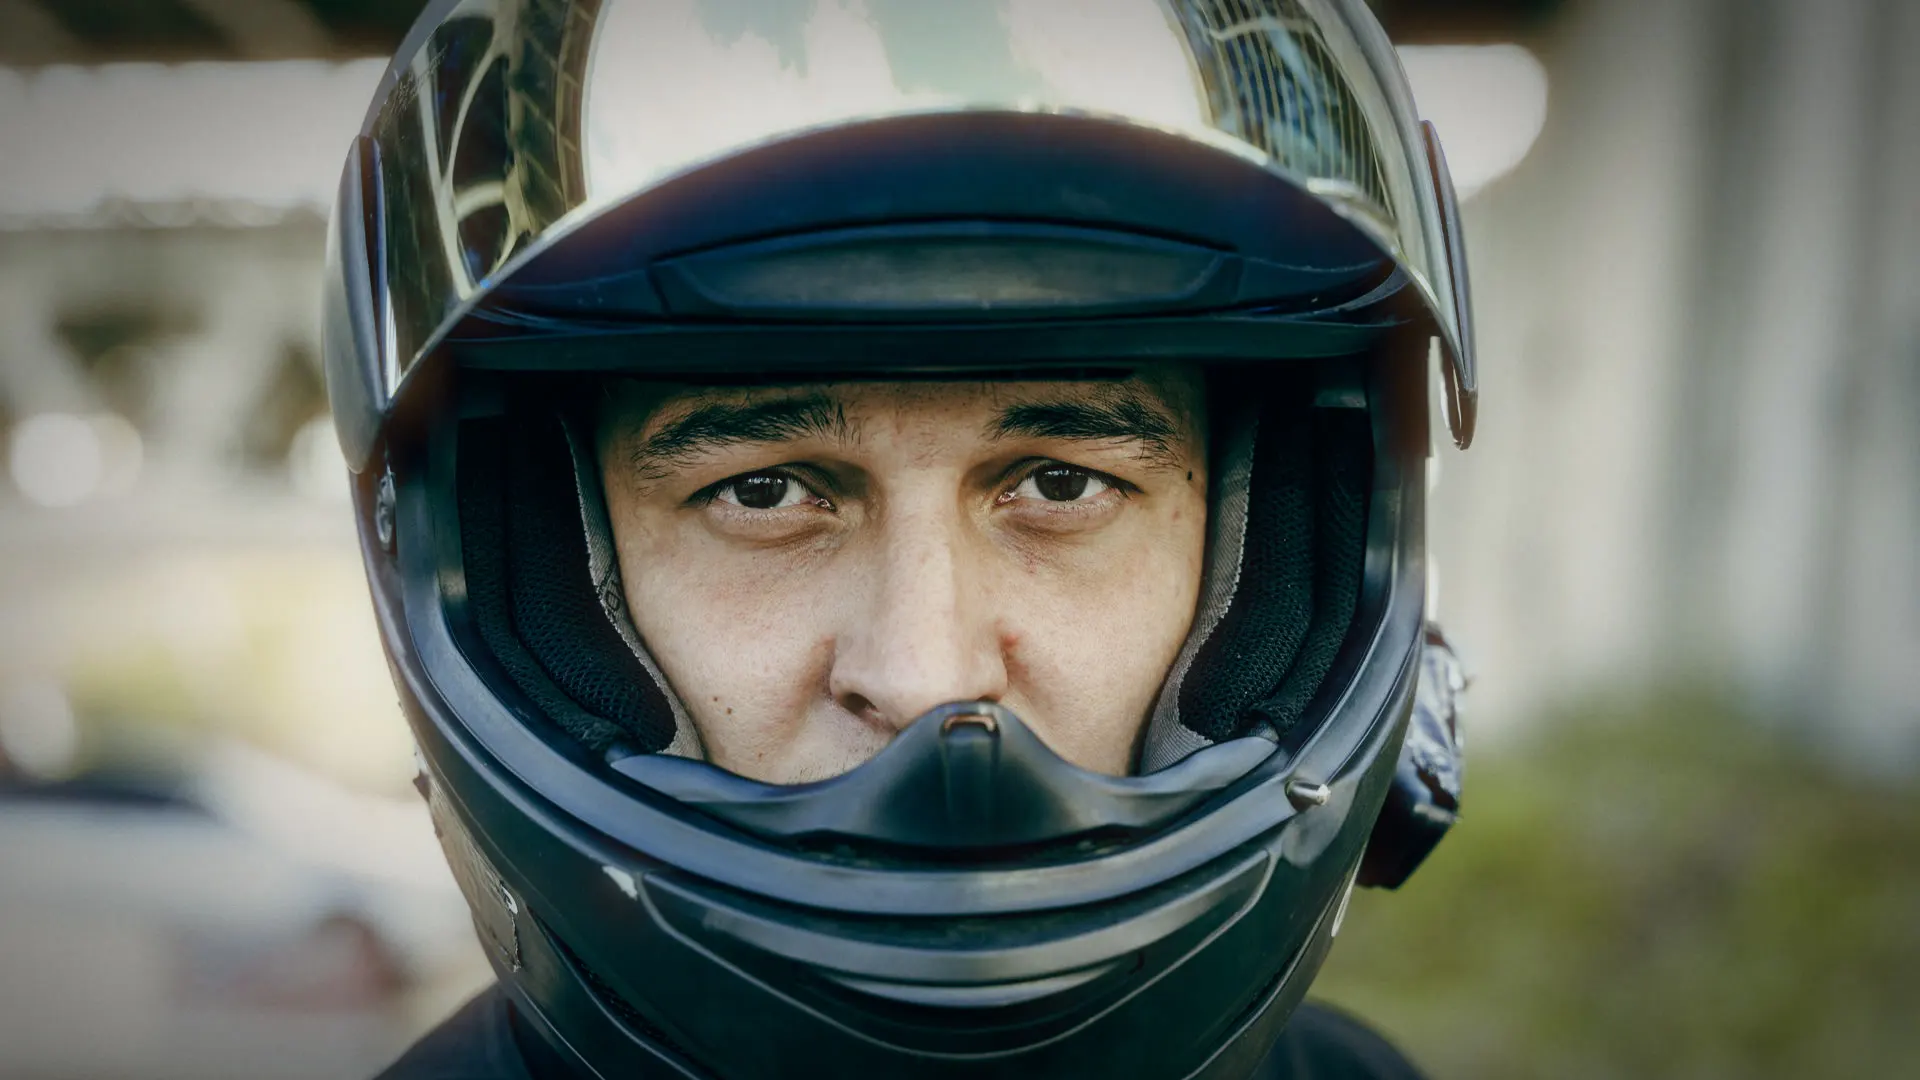



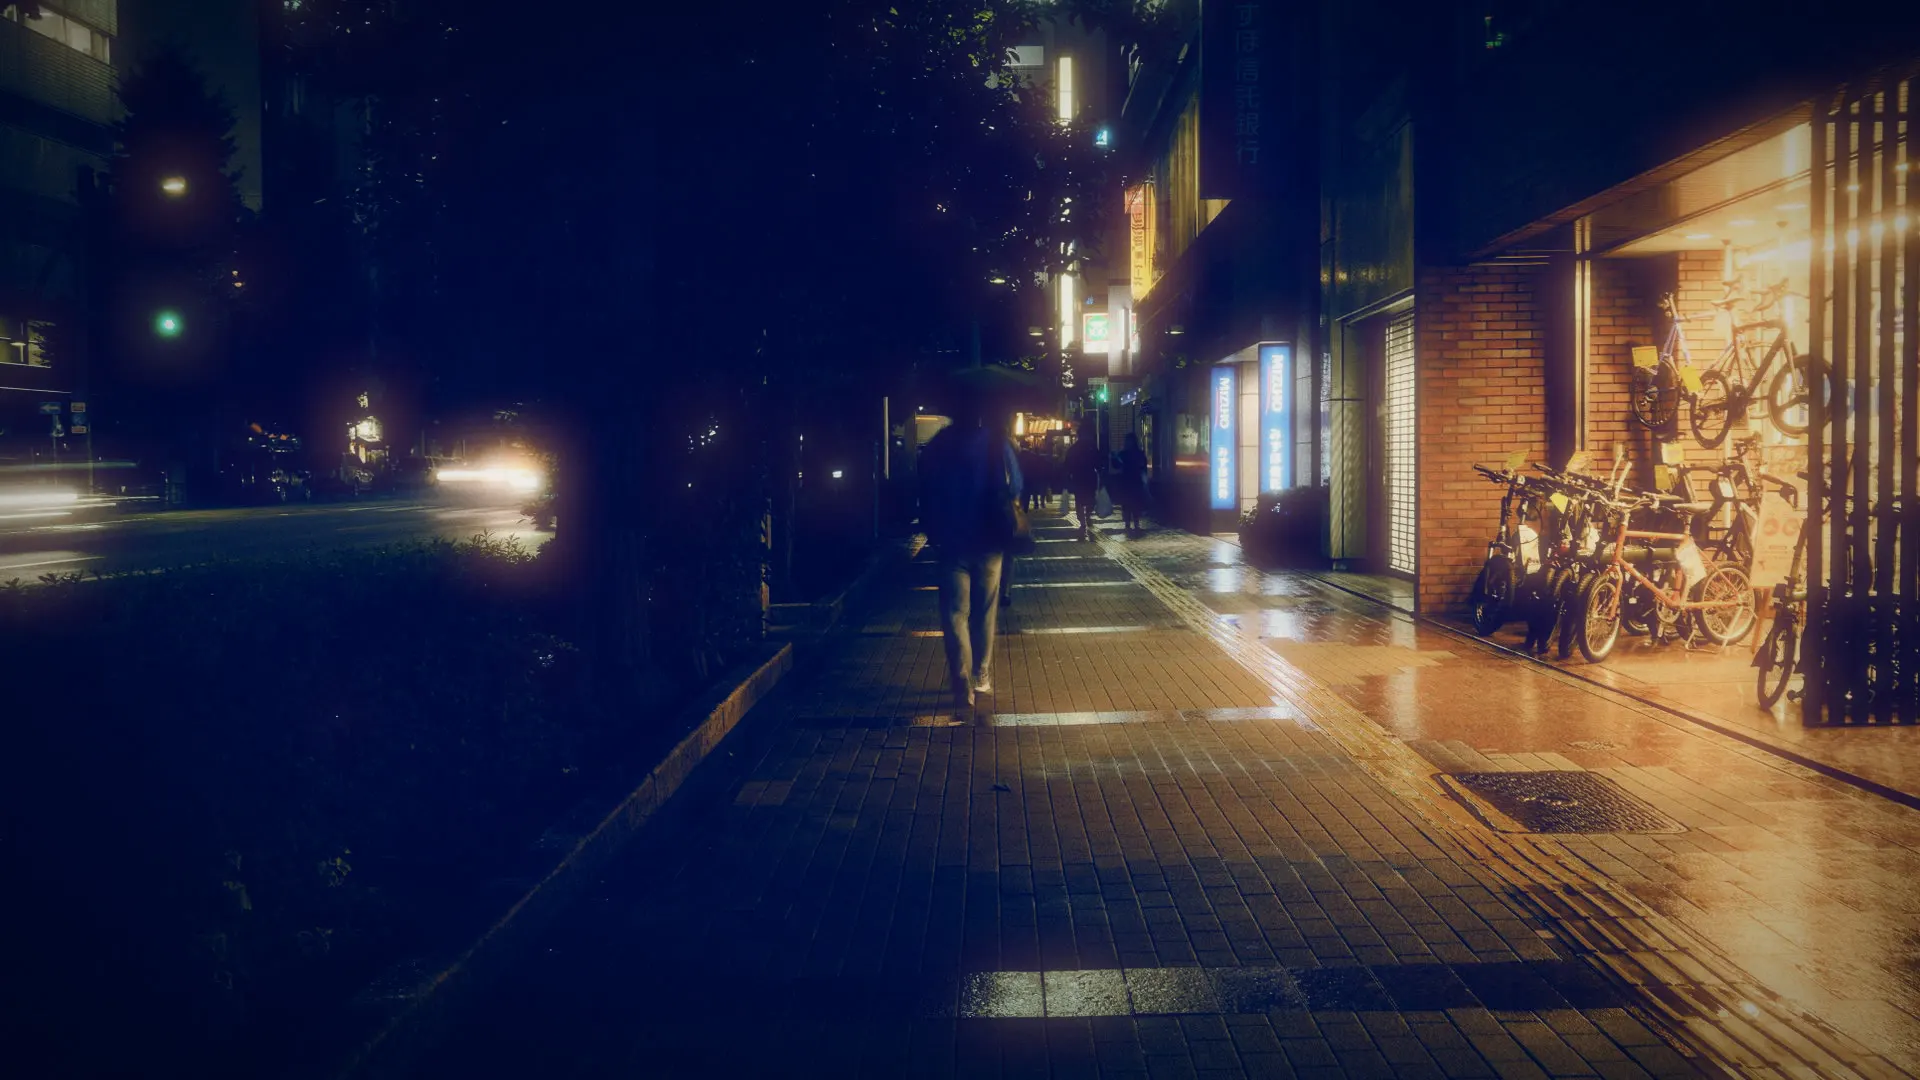

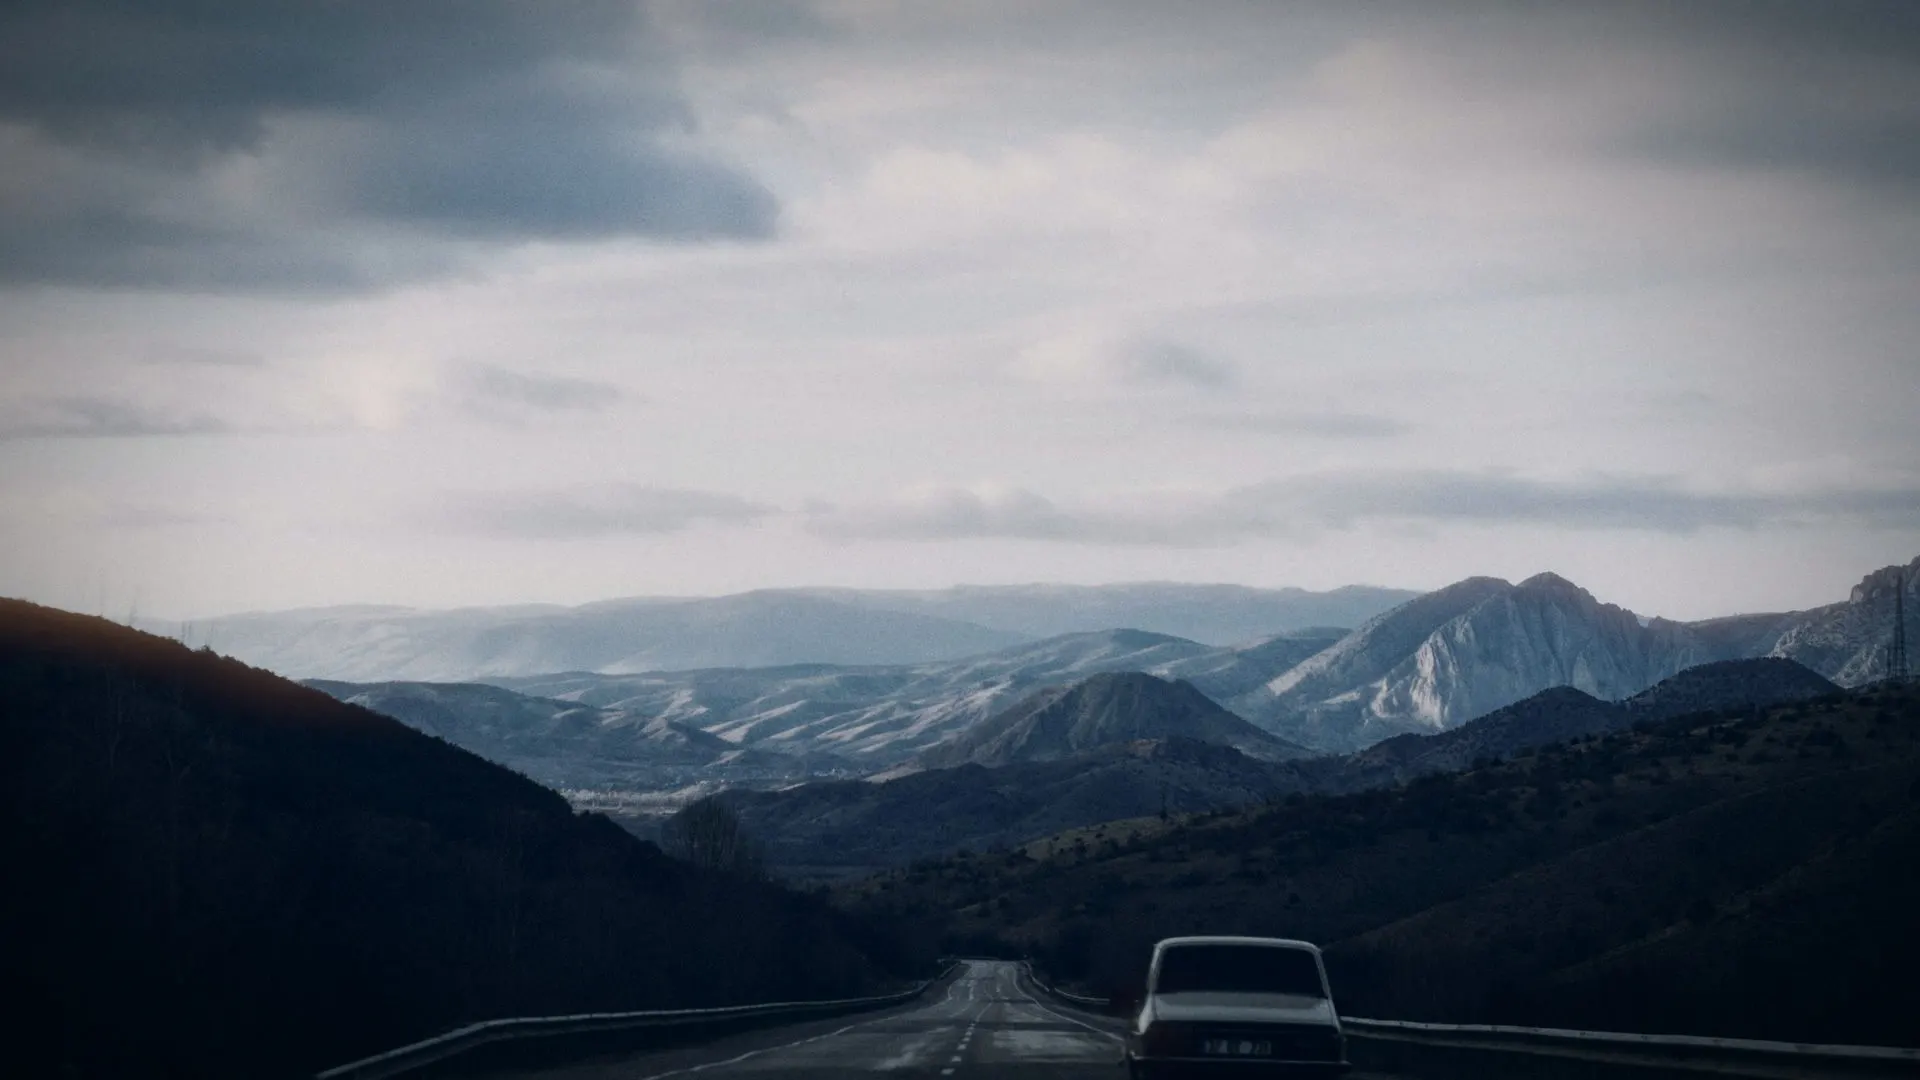
Move your cursor over the image Swipe across the image
How it works
Shooting log keeps far more information, but it comes out washed out. Color Grade Resolve does the three steps between that file and a cinematic shot, in the right order and in the same panel.



The log file straight out of the camera: flat, grey, no contrast. That is normal, and it is exactly what gives you room to grade.
Pick your camera from a drop-down. The plugin applies the manufacturer’s official curve and gamut, with a film-style tone curve that protects the highlights.
A creative look and a finishing tone on top. This is where the shot stops looking like video.
Rendered with the plugin’s own engine. The log image was generated with the official inverse S-Log3 formula.
Before and after
Four shots, four different looks. Move your cursor over each one to see the original.
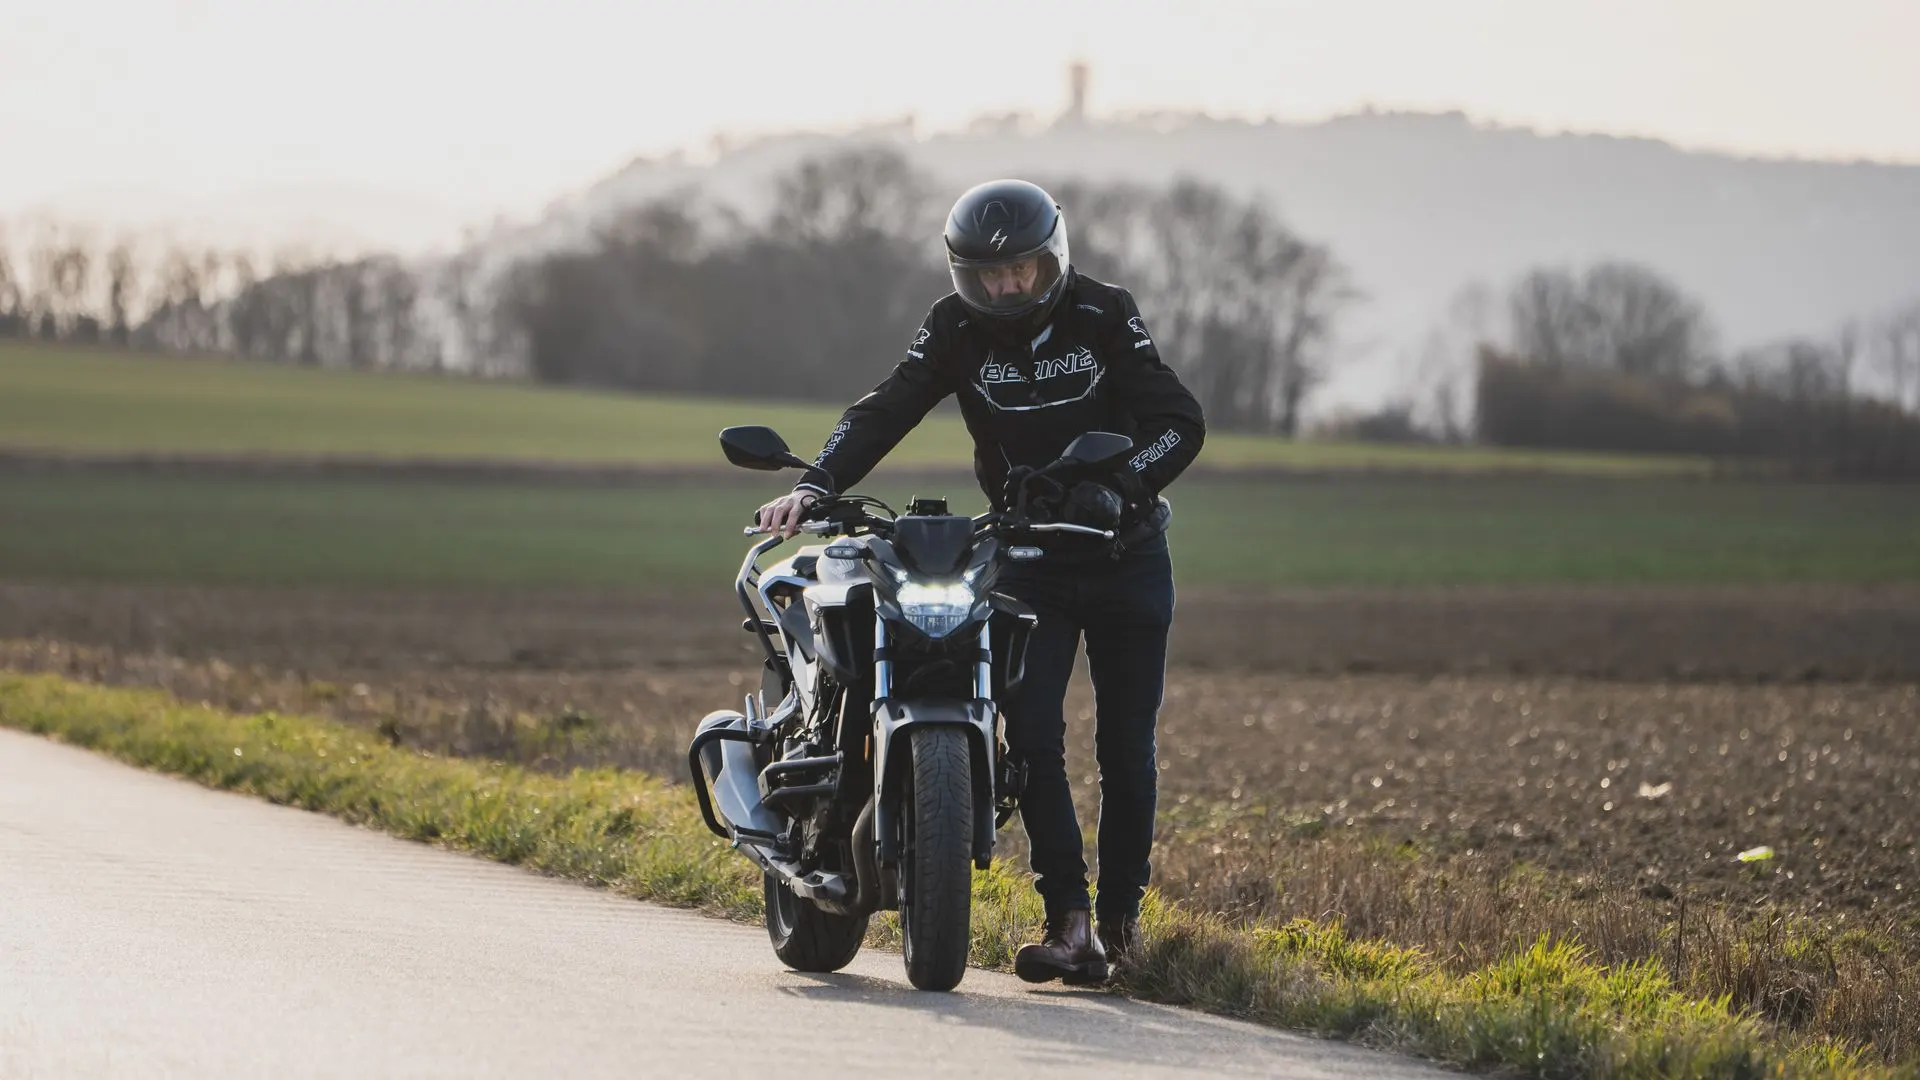



Every example is graded with Color Grade Resolve alone. Photos from Pexels.
31 camera profiles
Every profile uses the formula published by its manufacturer (log curve and colour gamut), not third-party LUTs. Pick a brand and compare the log with the conversion.
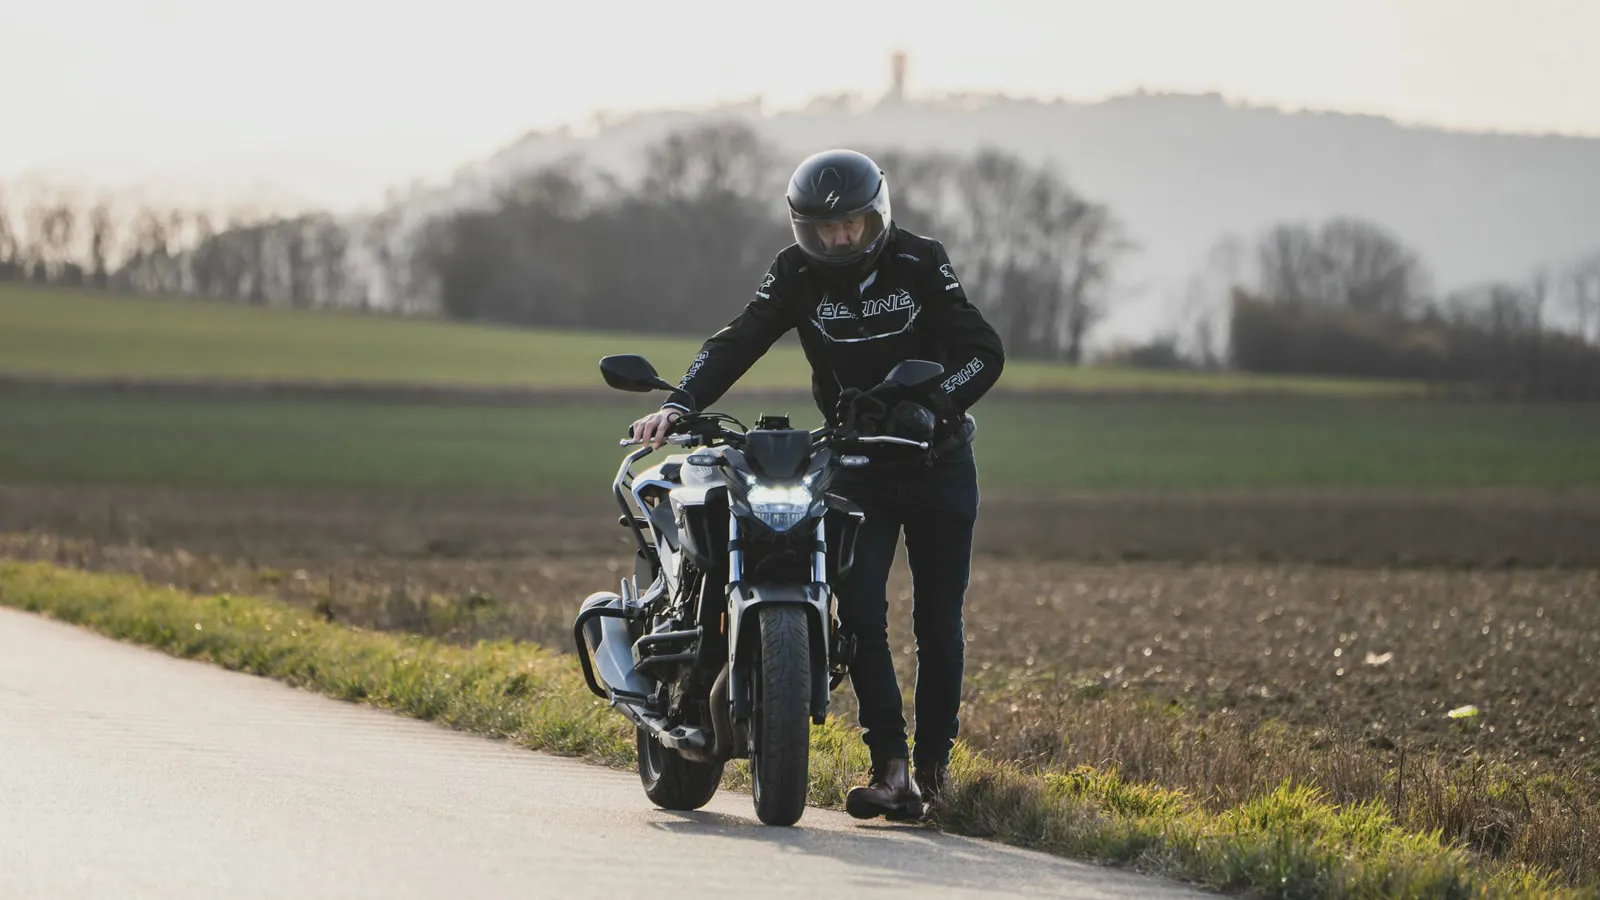
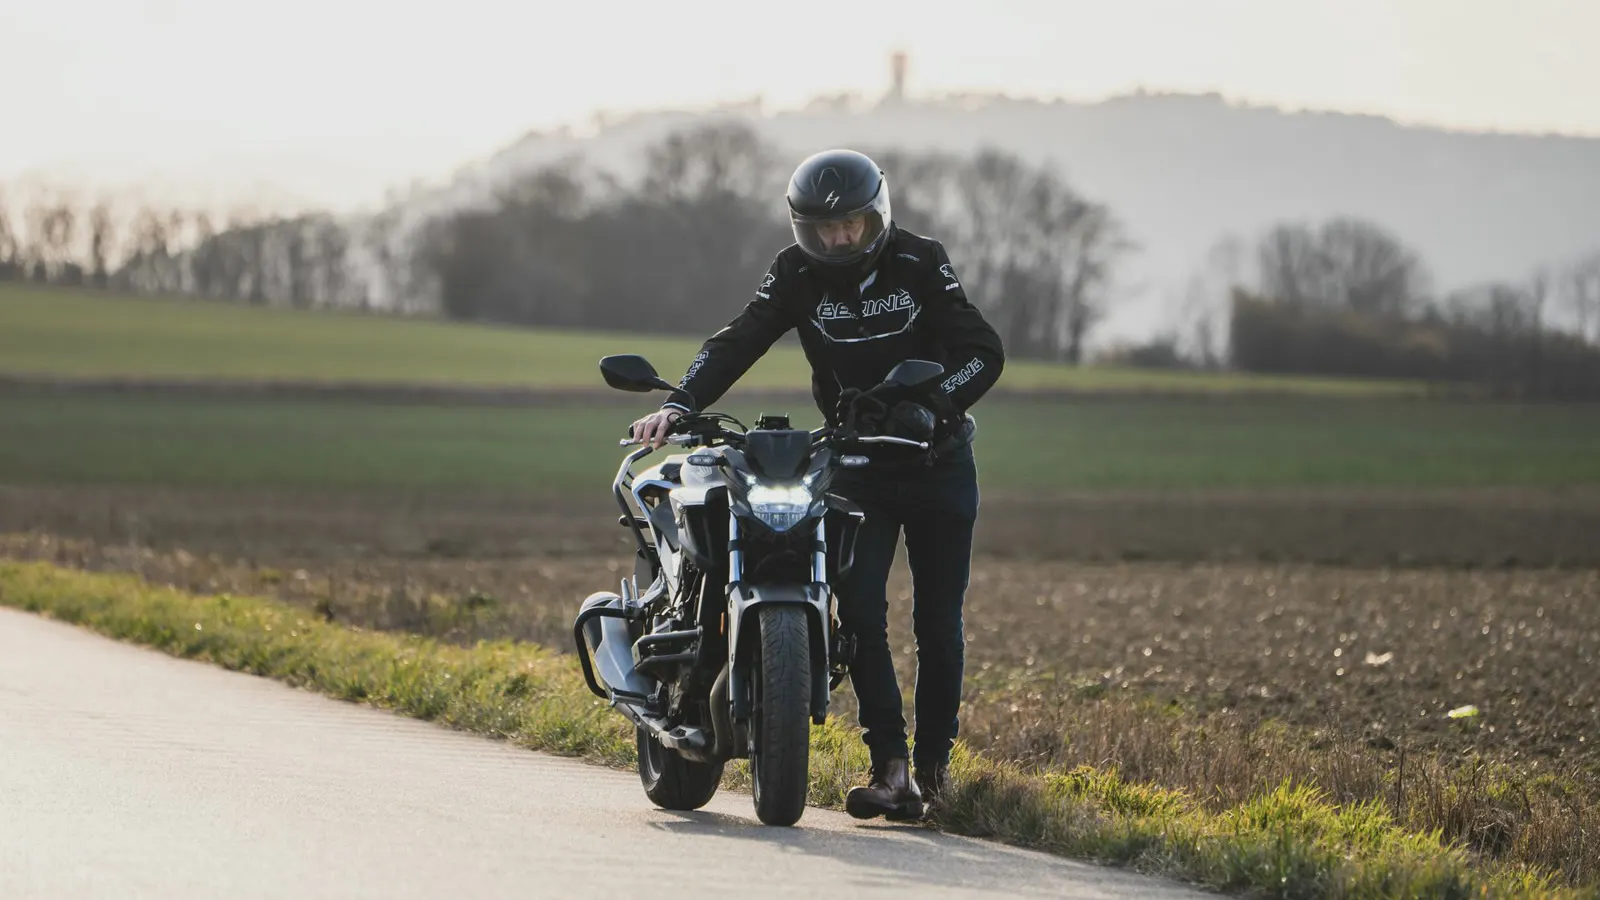
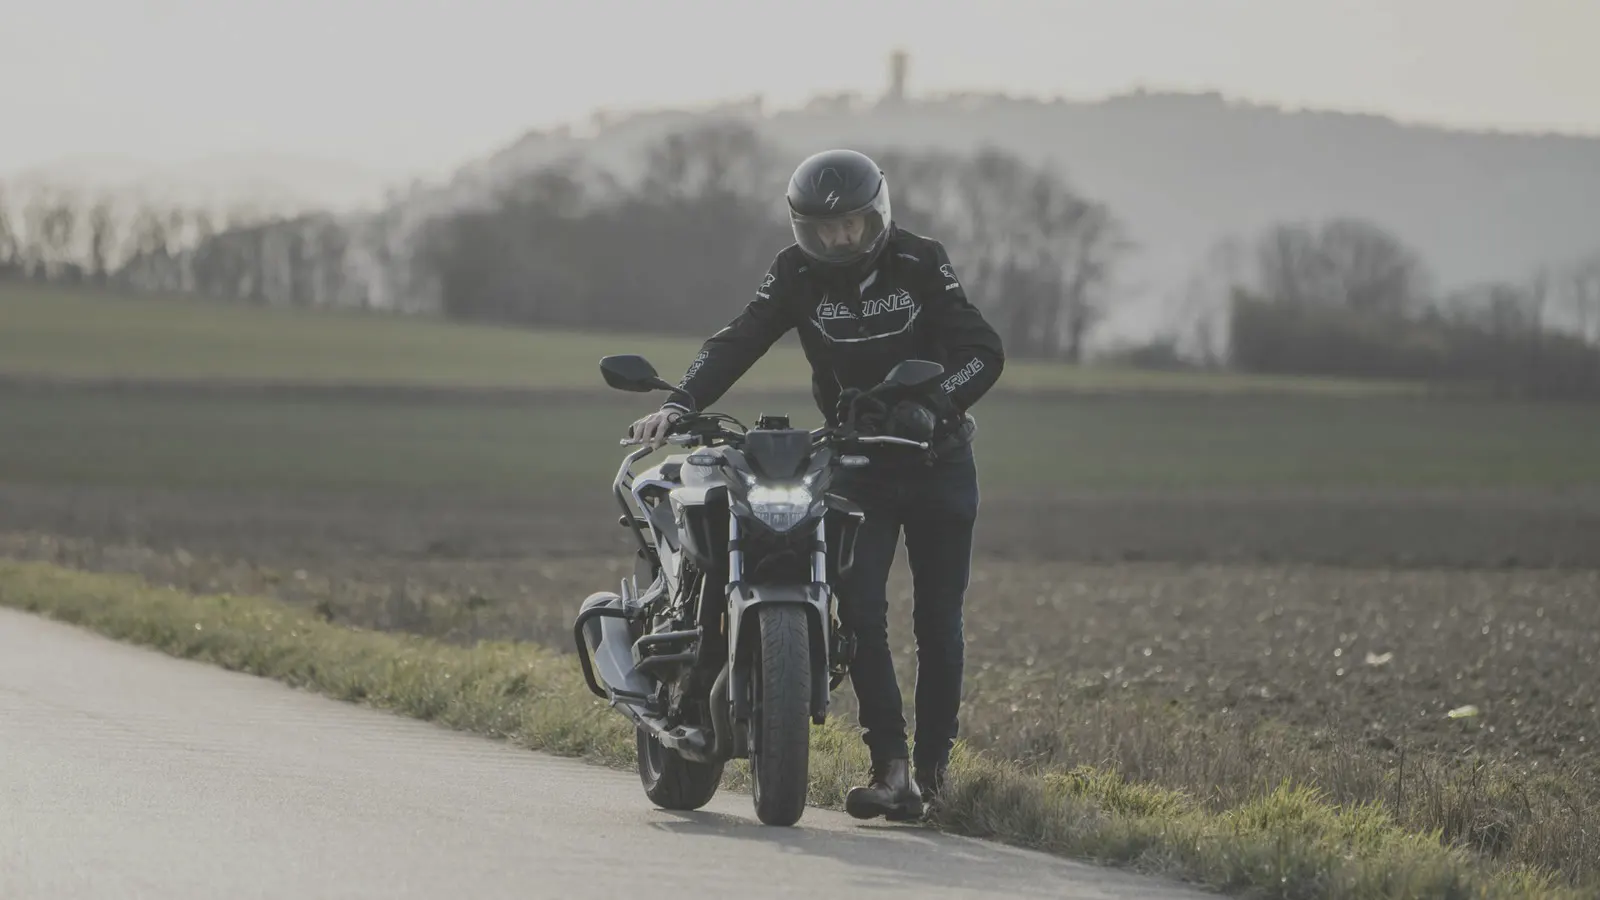
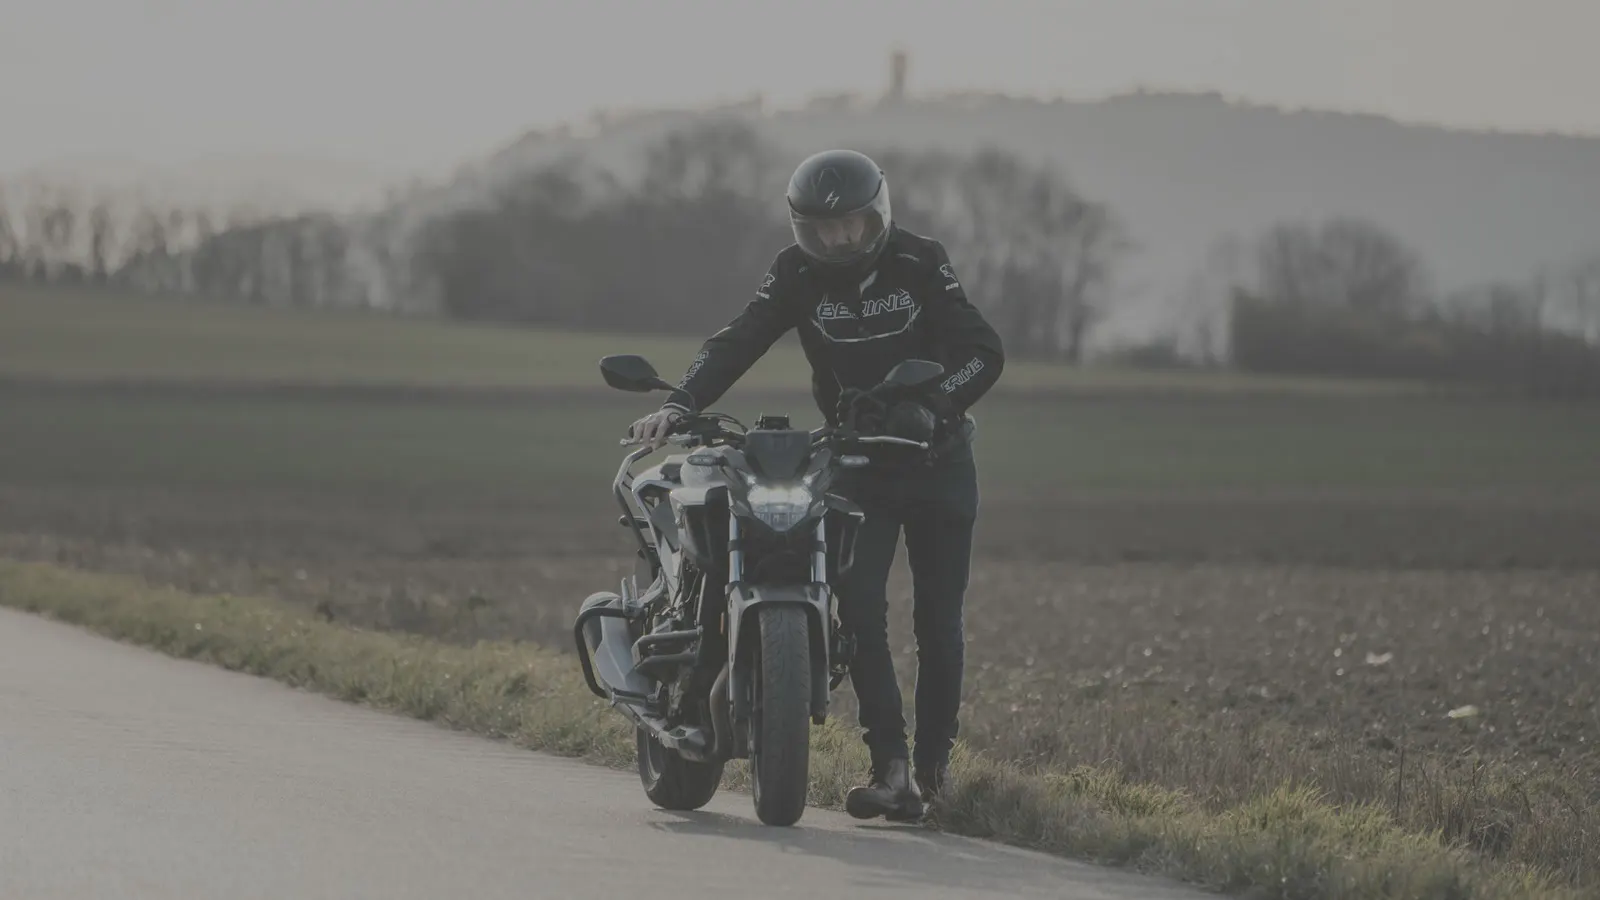
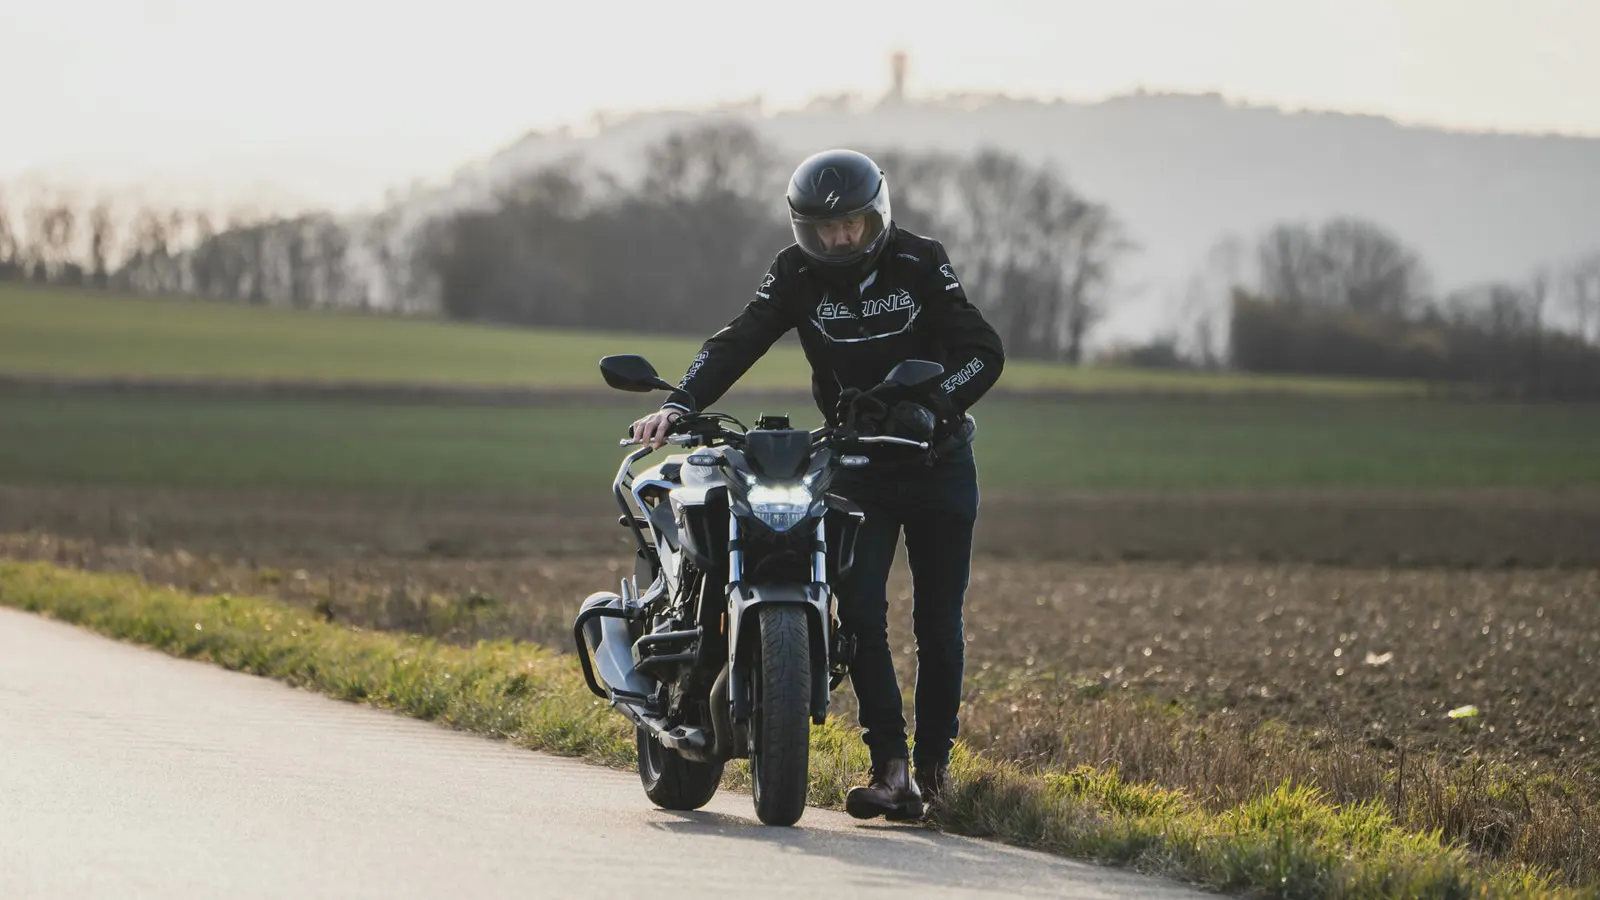
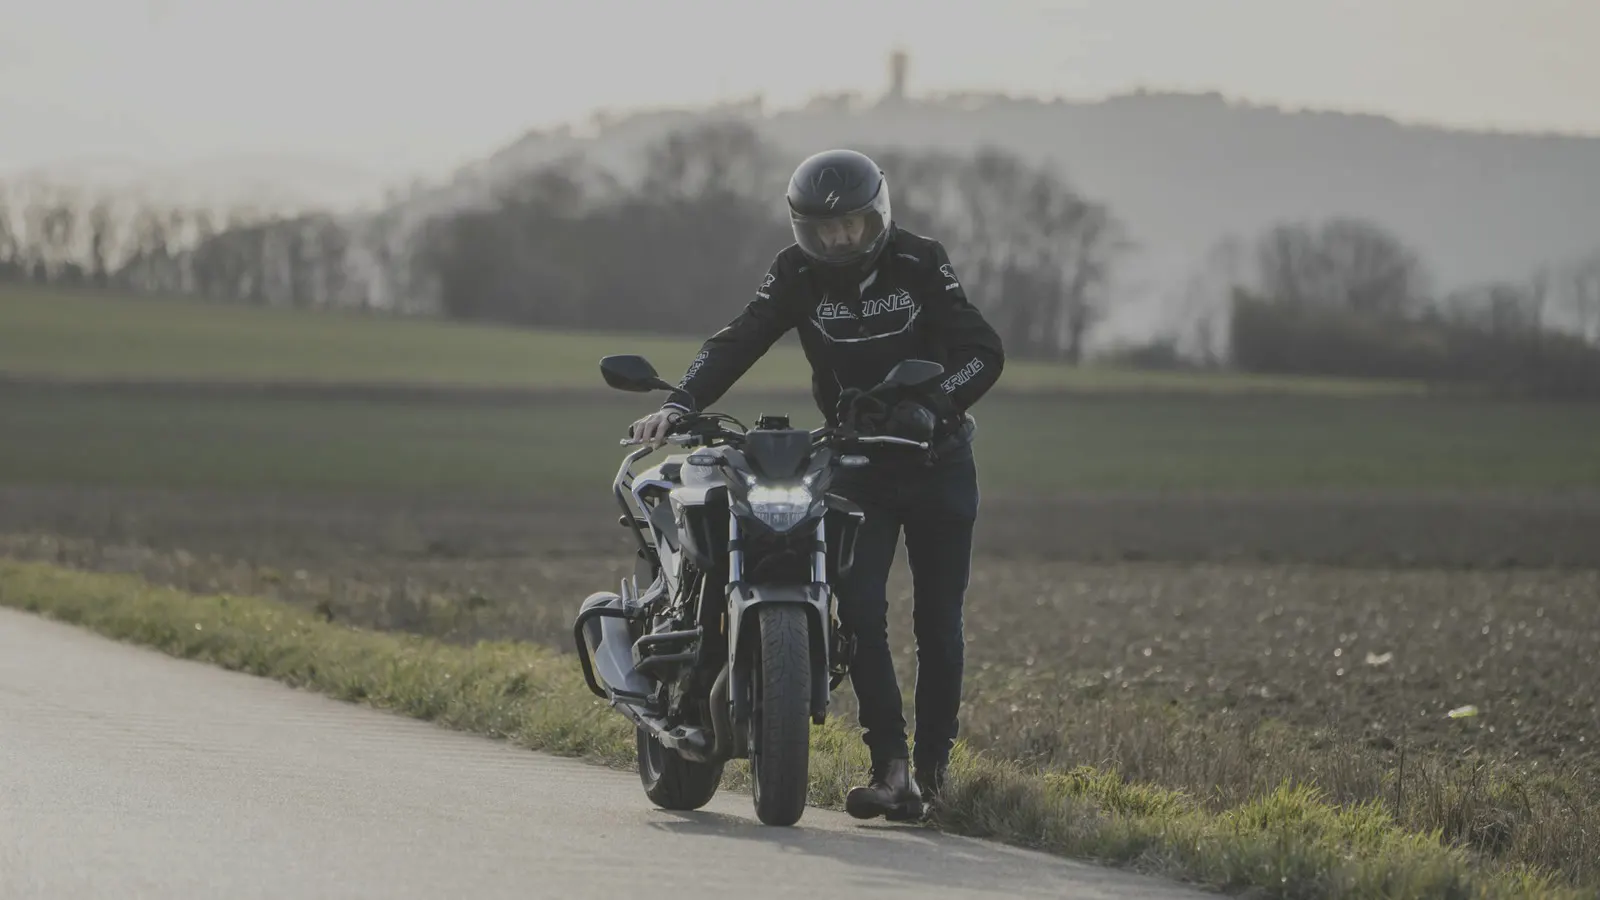
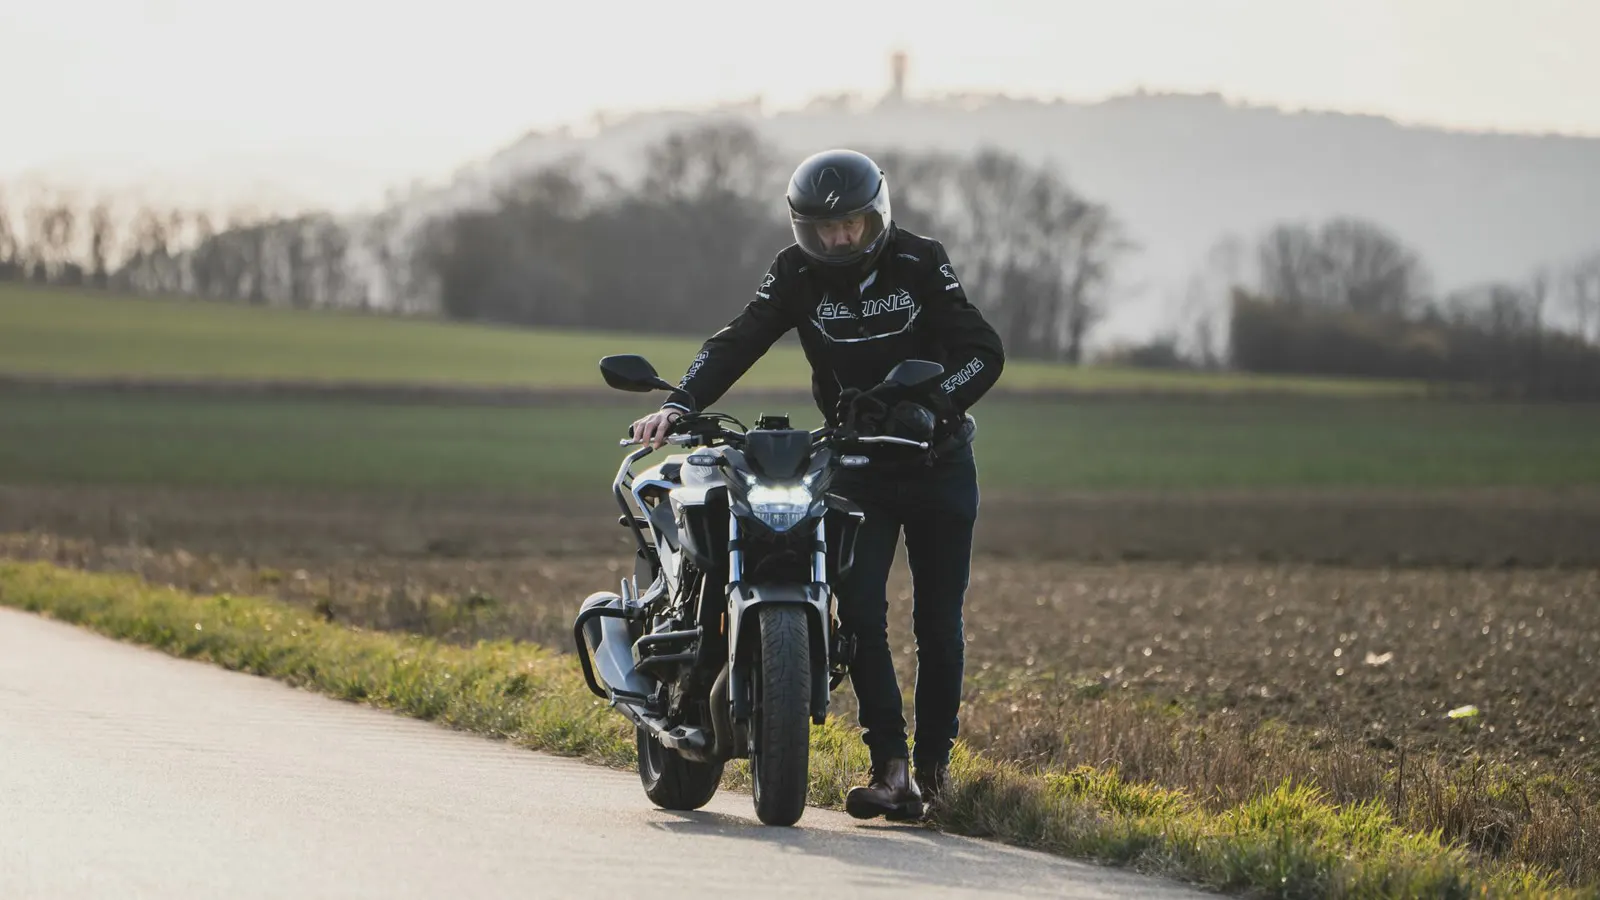
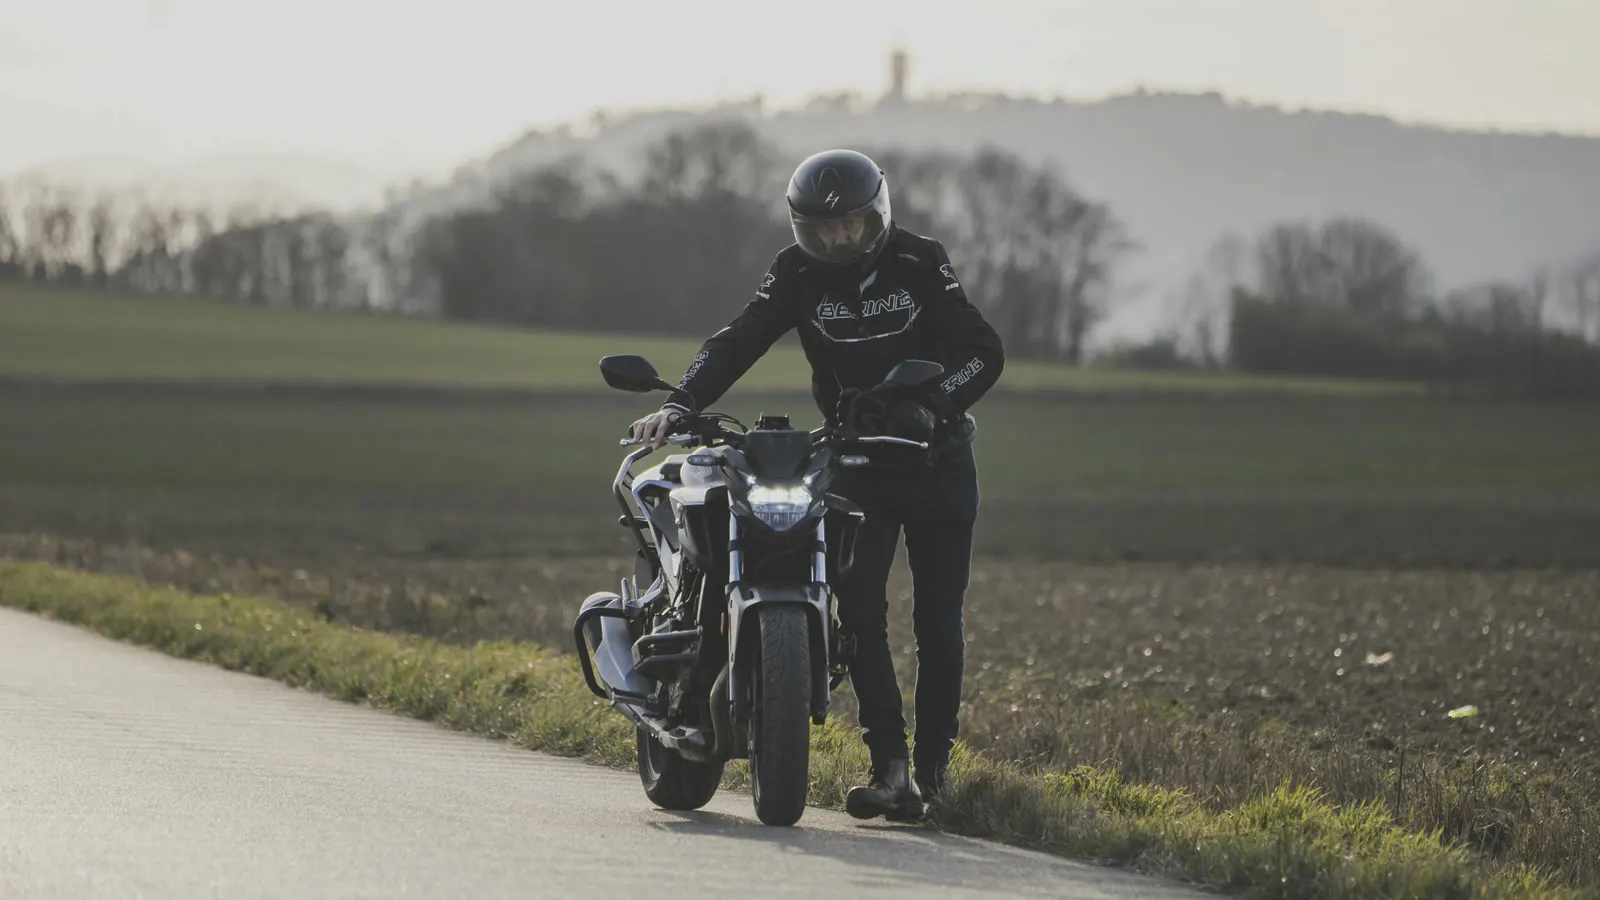
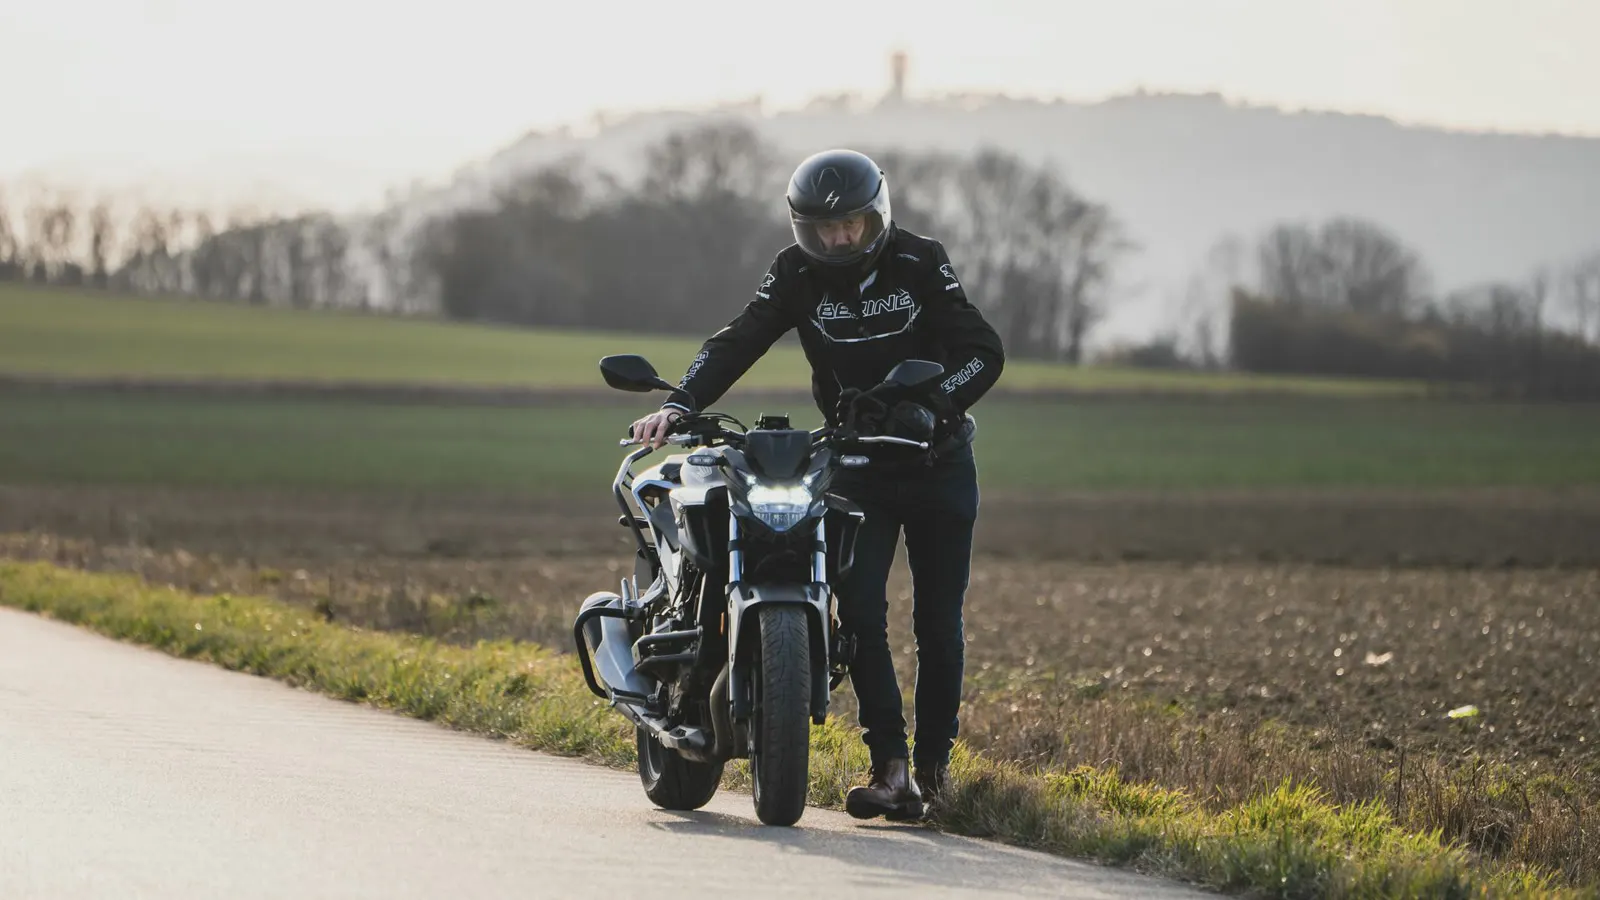
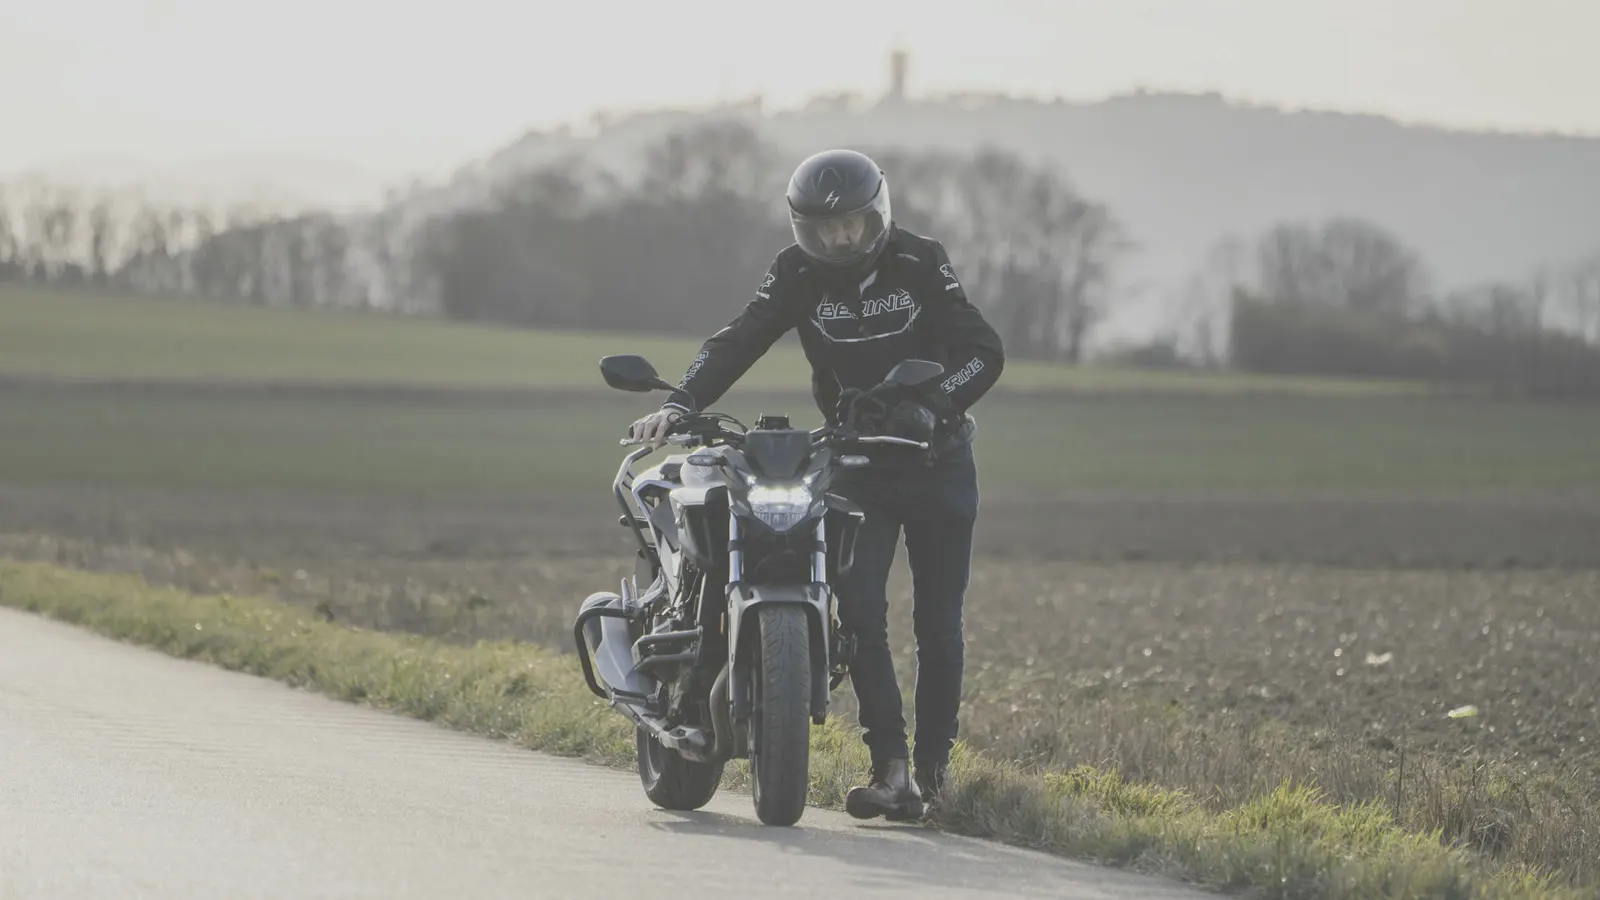
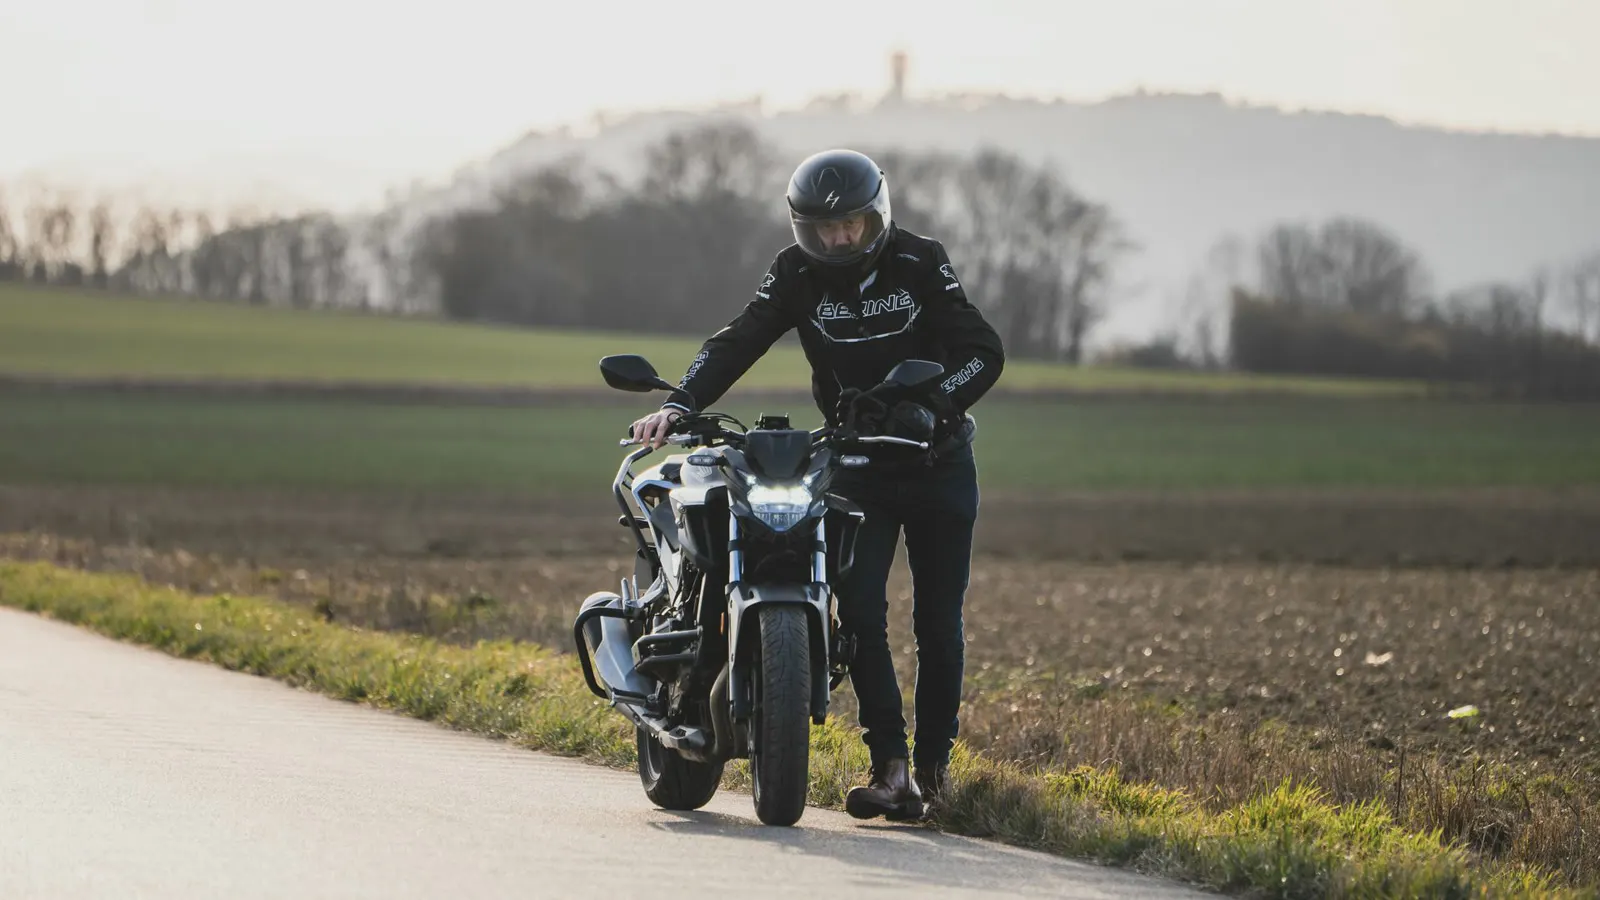
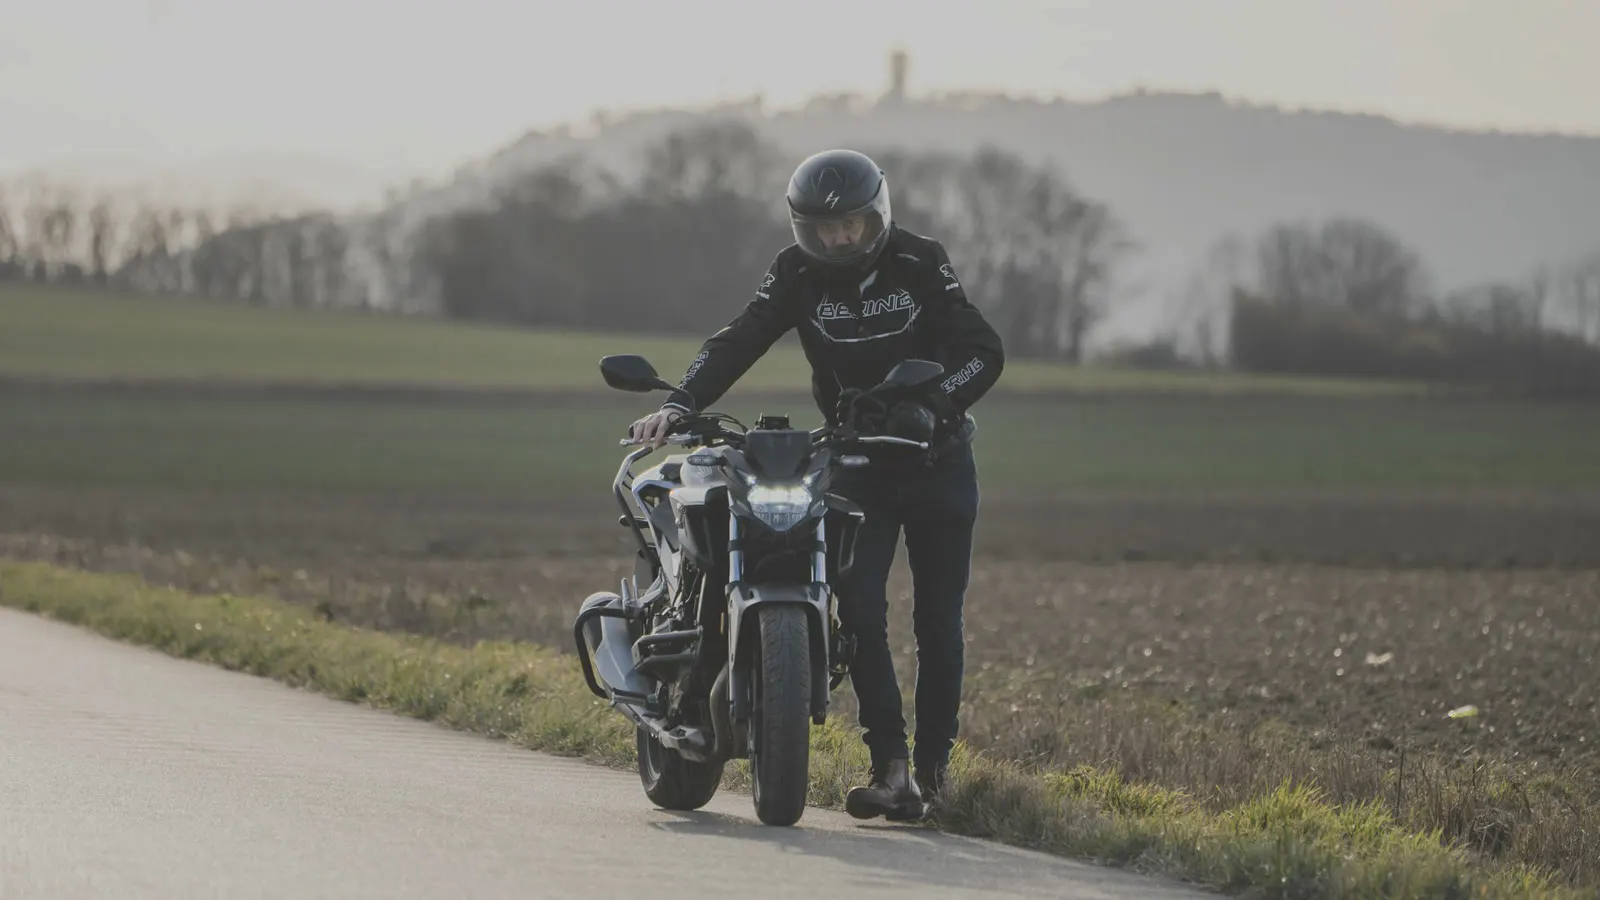
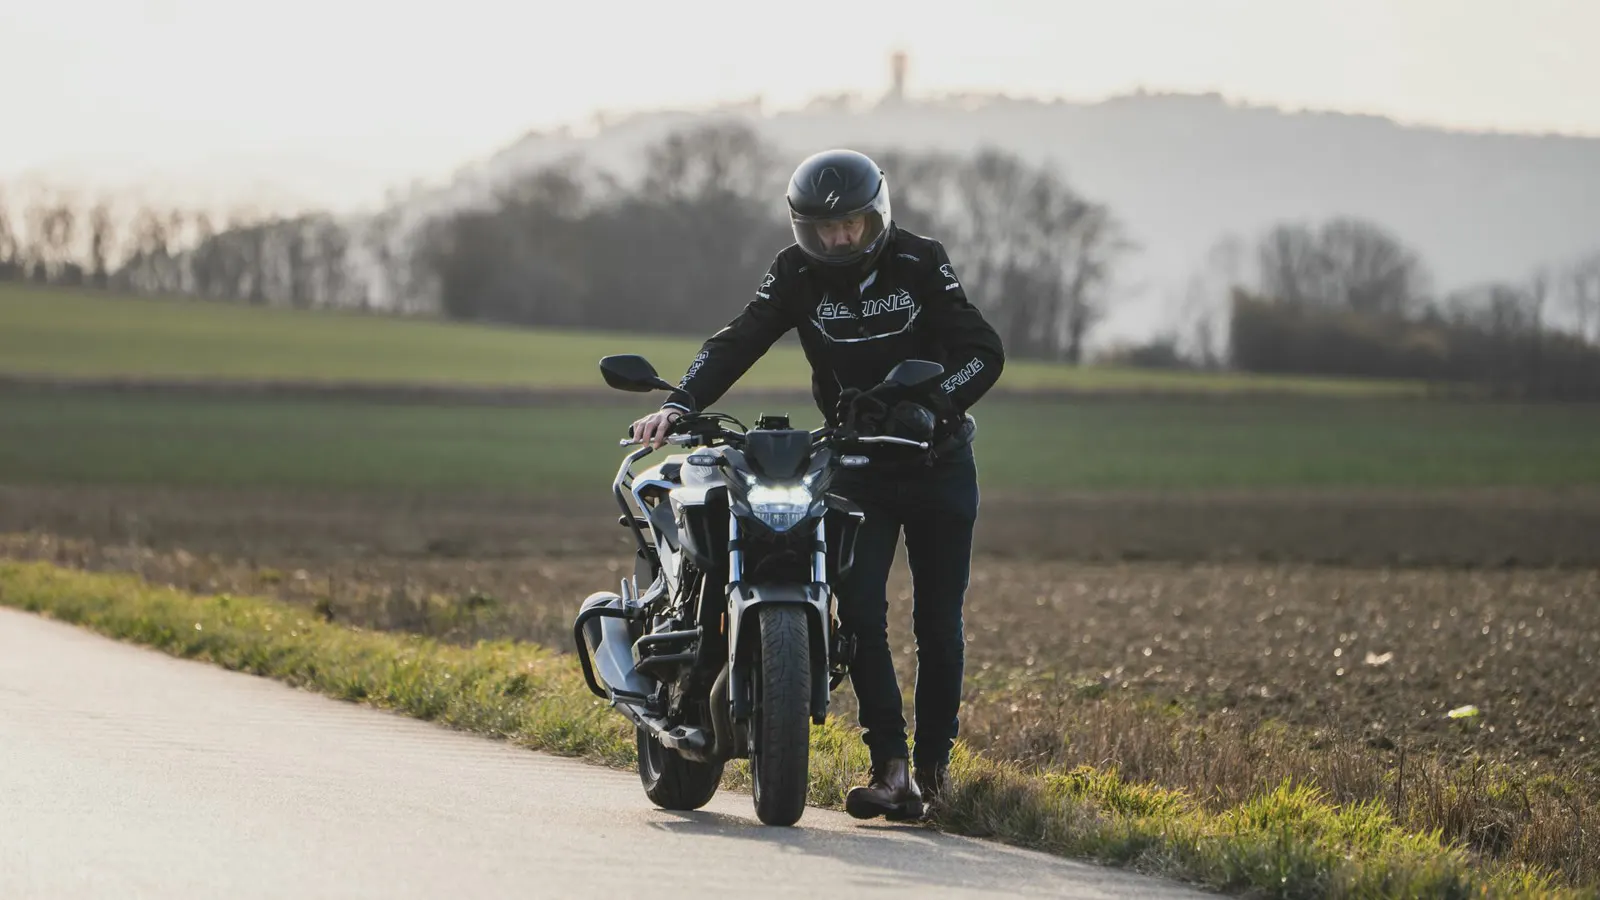
The same shot encoded with each camera’s official curve and converted by the plugin.
Not on the list. If you shot without log, choose “Ninguna (Rec.709)”; if you have your camera’s official LUT, load it in the Custom LUT section.
Approx.: the manufacturer has not published the specification. They are carefully calibrated, but check exposure and balance by eye.
Blackmagic RAW: in Camera RAW set Color Science Gen 5, Gamut and Gamma to Blackmagic Design Film. RED R3D: RWG / Log3G10.
Creative LUTs
Eight original families, generated with the plugin’s own colour engine. They go after the conversion, so they behave the same with any camera. Move your cursor over the names.













Film finish
The modules at the end of the panel. Each one with its presets and every control.
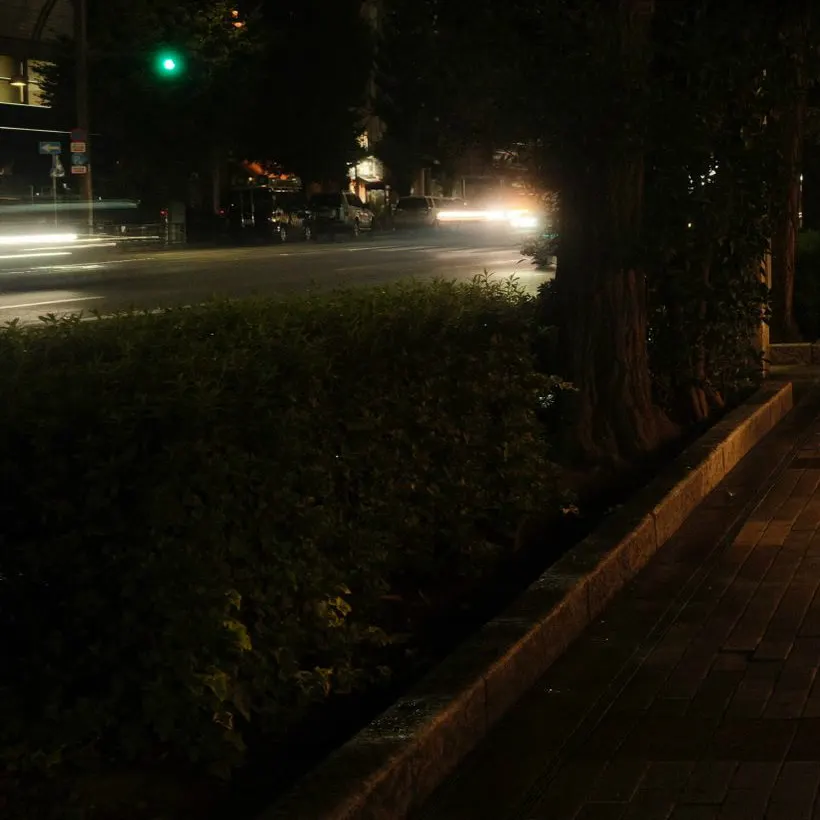
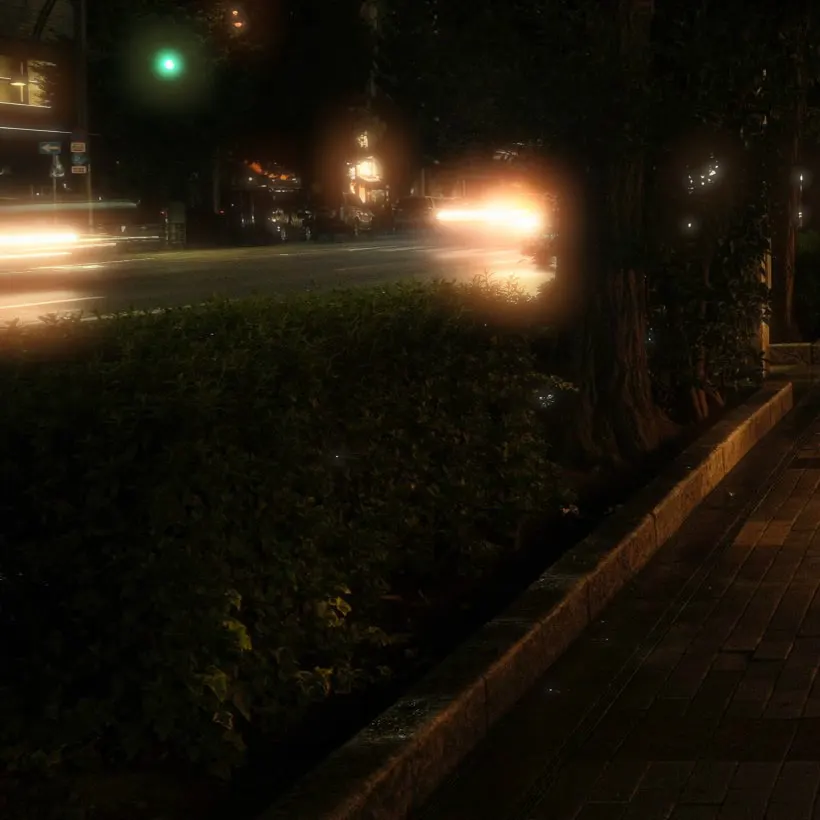
The reddish glow film creates around bright lights. Threshold, spread, glow colour and a cool diffusion-filter glow.
Eight stocks, from Super 8 to 65 mm. More grain in the mid-tones, like real film, and a size that adapts itself to 4K.


Adjusts saturation, brightness and hue of detected skin only. No masks, no tracking.

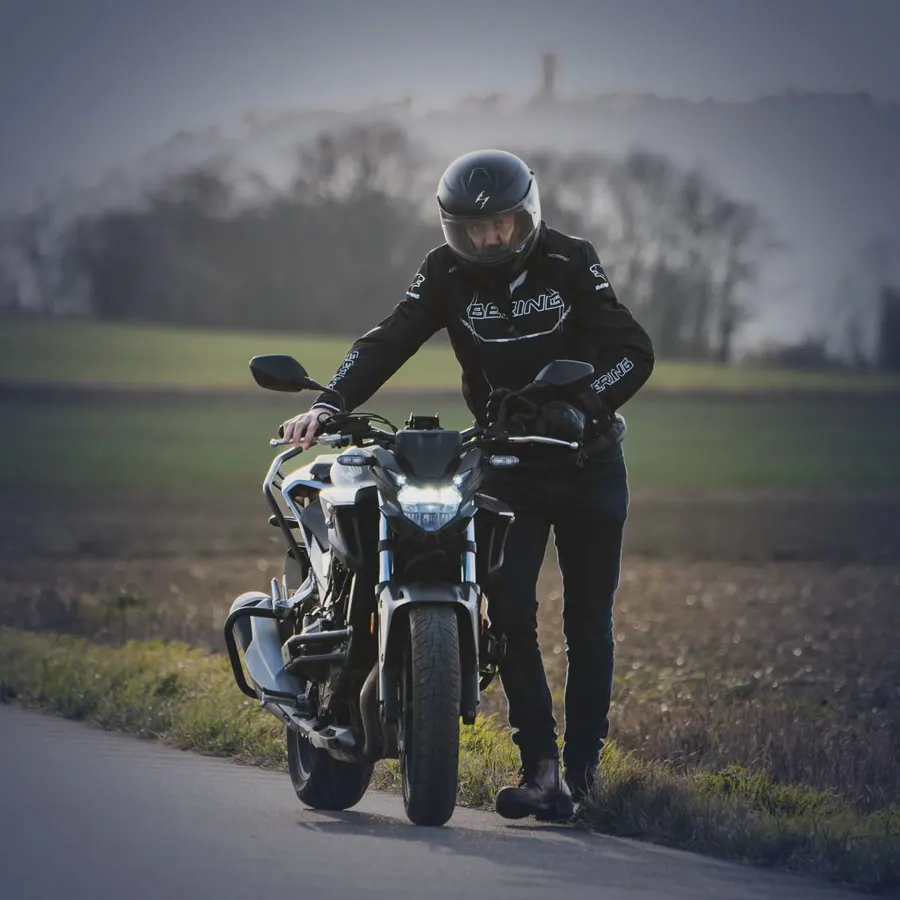
Edges that blend into any colour you pick with Resolve’s colour picker: black, white or any tone.
The plugin
Drop it on a node on the Color page and you get eleven modules in one panel. It processes in the right order: conversion and exposure in scene light, looks in display space and optical effects last.
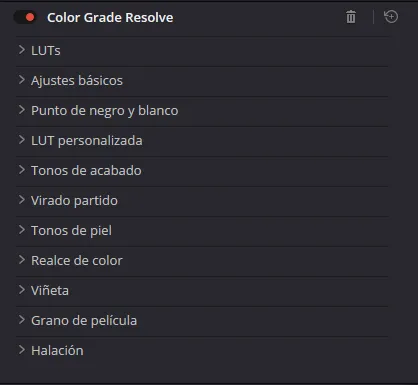
Every control takes keyframes and has its own reset button. Sections with a mask have “Show mask” so you can see exactly what they touch.
Your LUTs too
The Custom LUT section takes any .cube LUT: your camera’s, the ones you bought or the ones you made. And the plugin’s own LUTs come as files too.
Every LUT you load is copied into your personal library. Move or delete the original and the project still works.
Previous and next step through every LUT in the folder without opening the file browser each time.
The 74 creative looks, 13 finishing tones and 30 camera conversions also come as 33-point .cube files, for any node or any program that reads LUTs.
Tick the option when installing and they appear under LUTs › ResolvePacks Color Grade, ready to drag.
Tutorial
From purchase to your first graded shot in five steps. Leave the project as it comes: DaVinci YRGB and Rec.709 Gamma 2.4, with no other LUT or Color Space Transform before the node.
 Instalar Color Grade Resolve.exe
 Close Resolve and double-click the installer. It asks for admin rights because OFX plugins live in Program Files. It takes under a minute.
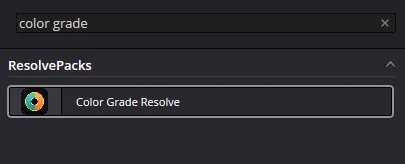
Color page › Effects › ResolvePacks › Color Grade Resolve. Or type “Color Grade” in the panel’s search box.
In the Licencia (Licence) section paste the key shown on your Payhip download page and click “Activar licencia”. It only needs internet that once.
In LUTs › LUT de conversión pick your log profile. If you did not shoot log, leave “Ninguna” (none). Adjust exposure and temperature until the shot looks neutral.

Try looks with “LUT siguiente” (next LUT), set the intensity and finish with a finishing tone, skin, grain, halation and vignette.
Tip · To repeat the look across every shot: right-click › Grab Still and apply it to the rest, or copy the node with Ctrl+C / Ctrl+V.
Manual · The pack includes the full manual in English and Spanish. The plugin interface is in Spanish, and the English manual shows every control with its translation.
Licence
Your key can be active on three computers at once: your desktop, your laptop and the studio machine, for example.
The key appears on your Payhip download page, next to the Download button.
No subscription. You pay once and the version you buy is yours.
After that it works offline. Every so often, if there is a connection, it quietly checks the key is still valid.
Click “Desactivar en este equipo” (deactivate on this computer) on the old one and the seat is free for the new one.
Use it on all your projects, personal and client work. What you make is yours.
Performance
With an NVIDIA card the whole plugin runs on the GPU, with nothing else to install. With AMD or Intel it runs on the CPU using every core.
Measured on an NVIDIA RTX 2060. Without NVIDIA, turn on Resolve’s render cache for smooth playback with grain and halation.
Compatibility
Questions
Yes. It is an OpenFX plugin and the free version of Resolve supports them. You do not need Studio.
Not yet: this version is for Windows 10 and 11 only. If you have a Mac and want to help me test the version I am preparing, email me and it is yours for free in return.
Three at the same time with the same key. If you change computer, click “Desactivar en este equipo” on the old one to free the seat. If that machine no longer exists, write to me and I will free it.
Only to activate the licence the first time. After that it works offline.
On your Payhip download page, next to the Download button. Until you activate it, the effect leaves the image untouched.
Yes. The Custom LUT section loads any .cube file and copies it into your library, so the project does not break if you move the original. You can combine it with the plugin’s looks.
If you shoot without log (a standard profile, or a phone without Log), choose “Ninguna” (none) and use the rest of the plugin as normal. If your camera shoots a log that is not listed, load the manufacturer’s official LUT in Custom LUT.
No. With NVIDIA it runs on the GPU in real time; with AMD or Intel it runs on the CPU. For smooth playback with grain and halation, turn on Resolve’s render cache.
It is almost always a double conversion: check there is no other LUT or Color Space Transform before the node, and that the profile you picked matches your camera.
The interface is in Spanish. The English manual shows every control with its Spanish name and the English translation next to it.
Yes, on all your projects, personal or client work. What you cannot do is redistribute the plugin or the LUTs.
One-off payment, automatic invoice and an instant download. Your key for three computers appears on the download page.